To adjust garage door travel limits: locate the UP/DOWN limit adjustment screws on the back or side of your opener motor head. Turn the DOWN screw clockwise to make the door travel lower when closing; turn the UP screw clockwise to make the door travel higher when opening. One full turn = approximately 2 inches of travel on most LiftMaster and Chamberlain models. Always test after each adjustment.
What Are Garage Door Travel Limits?
Travel limits are electronic settings built into your garage door opener that define exactly where the door stops when opening (up limit) and closing (down limit). Correct limits ensure the door rises fully to allow vehicle clearance and closes completely to seal against the floor and maintain security.
A garage door that stops short of the floor, doesn’t open fully, or reverses before fully closing is almost always a travel limit problem — not a mechanical failure. This is one of the most common adjustment calls we receive across Toronto and the GTA, and it takes 10–15 minutes to fix yourself.
Before You Adjust Travel Limits: Check These First
Travel limit adjustment solves specific problems. Before touching the limit screws, rule out these other causes:
- Safety sensor misalignment: If the door reverses before fully closing, misaligned sensors (not limits) are the most common cause. Check that both sensor lights are solid (not blinking). If the sending sensor (usually yellow) light is off or blinking, realign the sensors first.
- Obstruction in the door path: Check the floor area and door tracks for debris.
- Spring problem: A door that strains to open or close, moves unevenly, or is extremely heavy to lift manually has a spring problem — not a limit issue. Do not adjust limits to compensate for broken or weak springs.
- Force settings: If the door reverses before reaching the floor but sensors are properly aligned, the close force setting may be too sensitive. Force and limits are separate adjustments.
LiftMaster & Chamberlain Travel Limit Adjustment
LiftMaster and Chamberlain are the same company and share similar adjustment mechanisms across most models:
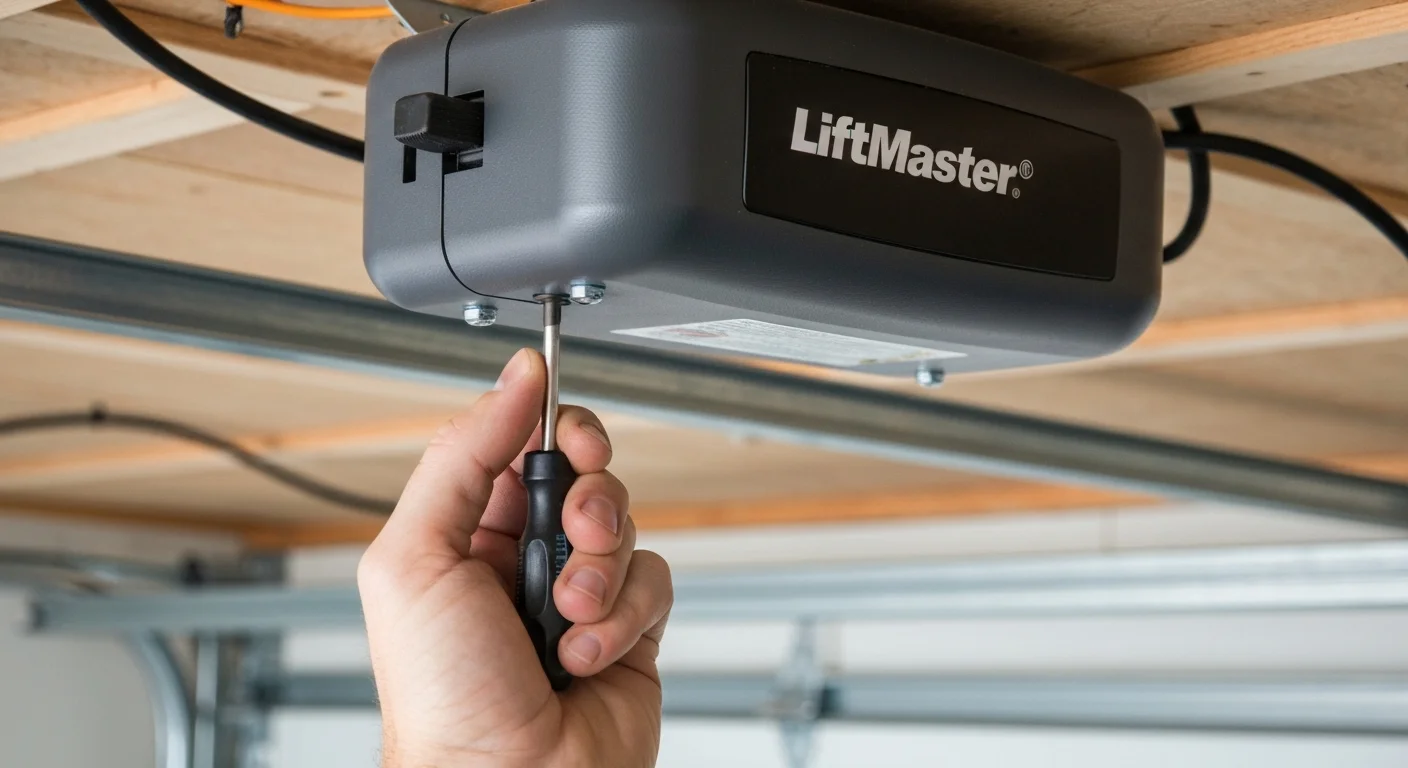
- Locate the adjustment panel on the back or side of the motor head. You will see two small screws labeled OPEN (or UP) and CLOSE (or DOWN).
- Use a flat-head or Phillips screwdriver (model-dependent) for adjustments.
- Door doesn’t close fully (stops above the floor): Turn the CLOSE/DOWN screw clockwise (typically 1–2 turns). Each full turn adds approximately 2 inches of travel.
- Door doesn’t open fully: Turn the OPEN/UP screw clockwise to increase up travel.
- Test after each adjustment. Stand clear of the door path during testing.
- If the door now closes fully but the opener motor strains at the end of travel (grinding sound, motor hum), you’ve gone too far — back the screw counterclockwise by half a turn.
Genie Garage Door Opener Travel Limit Adjustment
Genie openers use one of two adjustment systems depending on model age:
Older Genie screw-drive models (Genie Pro, Genie IS-Series): Use limit adjustment nuts or dials rather than screws. Consult your specific model’s manual for the exact dial location.
Newer Genie ChainGlide and SilentMax models: Use a similar screw system to LiftMaster. Locate the UP and DOWN screws on the drive unit or end panel. Clockwise increases travel distance in that direction.
| Brand/Model | Limit Type | Location | 1 Turn = Travel |
|---|---|---|---|
| LiftMaster 8165W, 8500W, 8550WLB | Phillips screw | Side panel | ~2 inches |
| Chamberlain B970, B2405 | Phillips screw | Side panel | ~2 inches |
| Genie ChainGlide 450 | Flat-head screw | End panel | ~1.5 inches |
| Genie SilentMax 1200 | Flat-head screw | End panel | ~1.5 inches |
| Craftsman (Chamberlain-made) | Phillips screw | Side panel | ~2 inches |
Adjusting Travel Limits on Smart Openers (myQ)
Newer LiftMaster and Chamberlain smart openers with myQ connectivity have digital limit adjustment through the control panel buttons on the motor head rather than physical screws:
- Press and hold the SETTINGS or MENU button on the motor head until the lights blink.
- Use the arrow buttons to navigate to LIMITS or TRAVEL menu.
- Follow the on-screen prompts to run a door close cycle and set new limits.
- Some models (8587W, 84505R) use an automatic limit learning mode — press LEARN, allow the door to cycle, and the opener sets limits automatically.
Door Still Not Adjusting Correctly?
If travel limit adjustments don’t solve the problem, you may have a spring balance issue or opener circuit board problem. Royal Garage Doors provides FREE service calls with any repair across Toronto & GTA.
Call 437-265-9995