How Garage Door Sensors Work
Before troubleshooting your blinking sensor, it helps to understand how these safety devices function. Garage door photo-eye sensors became mandatory for all automatic garage doors manufactured after January 1, 1993, following several accidents involving children and pets.
The Infrared Beam System
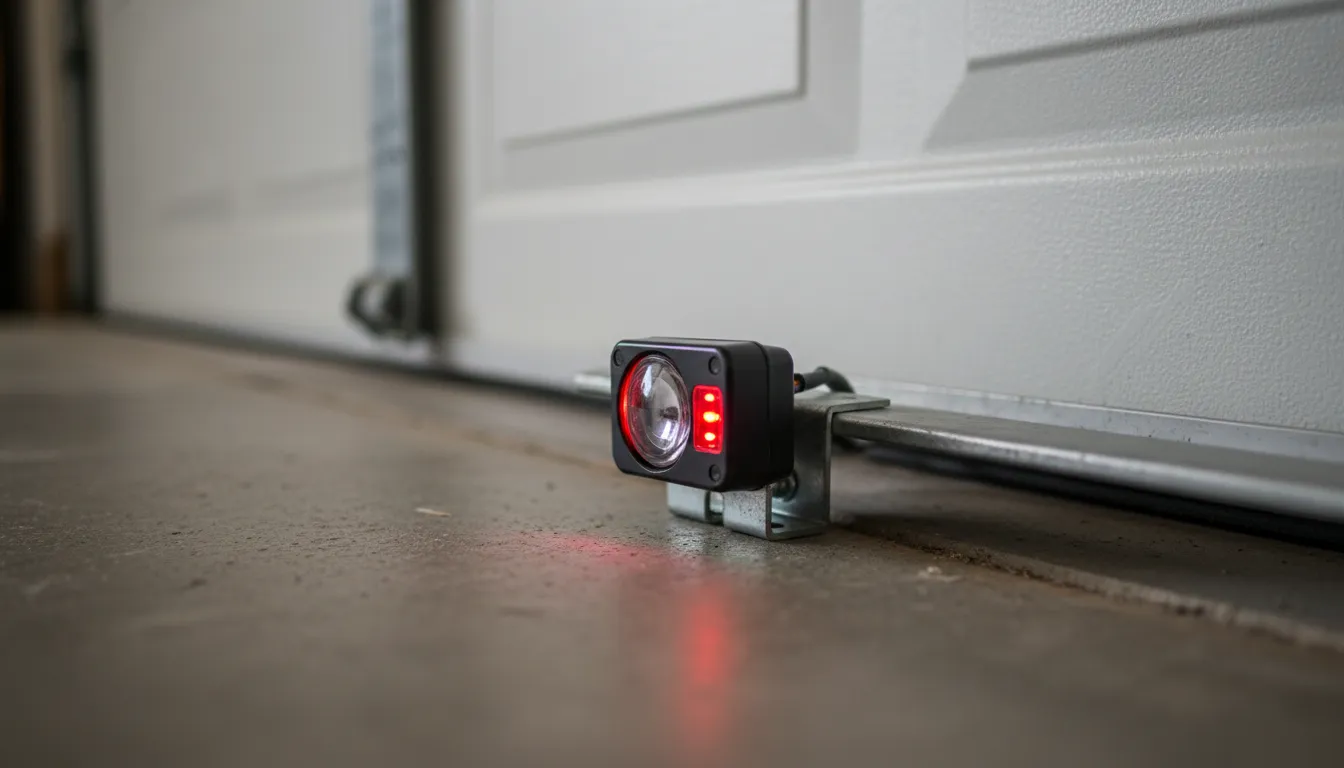
Your garage door has two sensors positioned on either side of the door opening, about 4-6 inches above the floor. One sensor is the transmitter (sending unit) which emits an invisible infrared light beam. The other is the receiver (receiving unit) which detects that beam. When the door is closing and something breaks this invisible beam—a person, pet, bicycle, or any object—the opener immediately reverses the door to prevent injury.
Why Sensors Use Infrared Light
Sensors use infrared (IR) light because it's invisible to the human eye but easily detected by electronic sensors. The IR beam operates at a specific wavelength (typically around 940nm) that's less susceptible to interference from ambient light than visible light would be. However, direct sunlight can still overwhelm the sensor, which is why afternoon sun interference is a common issue.
The Sending vs. Receiving Sensor
The sending sensor typically has a green LED and continuously projects the infrared beam. This sensor rarely causes problems since it simply needs power to transmit. The receiving sensor typically has an amber, orange, or red LED and must precisely detect the incoming beam. Most blinking light issues occur at the receiving sensor because even minor misalignment prevents proper beam detection.
What Sensor Light Colors Mean
Your garage door sensors have LED indicator lights that tell you their status. Understanding these signals helps you quickly diagnose the problem:
| Light Pattern | Meaning | Action Required |
|---|---|---|
| Green + Amber (both solid) | Working correctly | None - sensors aligned |
| One light blinking | Misalignment or obstruction | Realign sensors |
| Red blinking rapidly | No signal received | Check alignment & wiring |
| No lights at all | No power to sensor | Check wiring connections |
| Both lights blinking | Wiring issue | Inspect wire connections |
Pro Tip: The sending sensor (usually with the green light) transmits the beam. The receiving sensor (amber/red light) detects it. The receiving sensor is usually the one that blinks when there's a problem.
Sensor Light Patterns by Brand
While the basic principle is the same across all brands, each manufacturer uses slightly different LED colors and patterns. Here's what to expect from the most common brands in Toronto homes:
LiftMaster / Chamberlain Sensors
LiftMaster and Chamberlain (made by the same company) use:
- Sending sensor: Solid amber/yellow LED when powered
- Receiving sensor: Solid green when aligned, blinking green when misaligned
- If both sensors have no lights, check power at the opener unit
Genie Sensors
Genie garage door sensors display:
- Sending sensor: Solid red LED
- Receiving sensor: Solid green when aligned, off or blinking when misaligned
- Genie sensors are more sensitive to direct sunlight than some other brands
Craftsman Sensors
Craftsman openers (often manufactured by Chamberlain) typically show:
- Sending sensor: Solid green LED
- Receiving sensor: Solid green when working, blinking when misaligned
- Older Craftsman models may have both LEDs on the same side of one sensor
Overhead Door / Wayne Dalton
These brands typically use:
- Both sensors: Green LEDs when aligned and working
- Blinking or no lights indicate alignment or wiring issues
- Check your owner's manual for model-specific indicators
How to Fix Blinking Red Sensor
Follow these steps in order. Most blinking sensor issues are resolved in the first two steps:
Check for Obstructions
Look for anything blocking the invisible beam between sensors: boxes, toys, bikes, garden tools, leaves, cobwebs, or snow buildup. Even a small object can break the beam. Clear the entire door opening path at sensor height (4-6 inches from floor).
Clean the Sensor Lenses
Dust, dirt, and cobwebs accumulate on the small lenses. Use a soft, dry cloth to gently wipe both sensor lenses. For stubborn grime, lightly dampen the cloth. This simple step fixes about 30% of sensor issues.
Realign the Sensors
Both sensors must point directly at each other. Loosen the wing nut or screw holding the sensor bracket. Adjust the sensor angle until the LED lights become solid (not blinking). The receiving sensor's light is the key indicator—it should turn solid when aligned. For detailed alignment instructions, see our complete sensor and track alignment guide.
Check the Wiring
Inspect wires at both sensors and where they connect to the opener. Look for loose connections, frayed wires, or damage from moisture or pests. Push wire connectors firmly to ensure good contact. Check the wires haven't been pulled loose by lawn equipment or foot traffic.
Test the Door
Press your wall button to close the door. It should close smoothly without reversing. As a safety test, wave your hand through the sensor beam while closing—the door should reverse immediately. If it doesn't reverse, the sensors are not working properly.
Common Causes & Solutions
Sunlight Interference
Direct sunlight hitting the receiving sensor can overwhelm the infrared beam, causing false triggers. This often happens in the afternoon when the sun is low. Solutions include:
- Add a sun shade over the affected sensor
- Reposition the sensor slightly to avoid direct sun
- Install a sensor hood (available at hardware stores)
Vibration from Door Movement
Over time, the vibration from the garage door opening and closing can shift sensor alignment. If your sensors need frequent realignment, tighten the mounting brackets and consider adding thread-locking compound to the adjustment screws.
Moisture and Condensation
In cold weather, condensation can form on sensor lenses, blocking the beam. Water damage to wiring connections is also common in garages. If moisture is recurring, seal wire connections with electrical tape or silicone.
Safety Warning: Never disconnect or bypass your safety sensors permanently. They're federally mandated since 1993 and prevent serious injuries. If you can't fix the sensors, call a professional.
Nine out of ten sensor calls we get are fixed with a simple cleaning or realignment. Before calling for service, try these steps—you'll save yourself a service call most of the time.
— Michael Thompson, IDEA Certified Technician
When to Replace Sensors
Sensors typically last 10-15 years. Consider replacement if:
- Sensors are physically damaged or cracked
- Wiring is severely corroded or damaged
- Problems persist after cleaning and realignment
- Sensors are over 10 years old and unreliable
Sensor replacement costs $120-$180 including parts, installation, and testing. This is a straightforward repair for most technicians.
Toronto Winter Sensor Tips
Toronto's harsh winters create unique challenges for garage door sensors. Temperature extremes from -20°C to +30°C throughout the year can affect sensor reliability.
Cold Weather Condensation
When warm, humid air from your garage meets cold sensor lenses, condensation forms on the glass. This moisture blocks or scatters the infrared beam, causing the receiving sensor to blink. In severe cases, this condensation can freeze into a thin layer of frost. Wipe sensors with a dry cloth on cold mornings if you notice intermittent blinking.
Wire Connection Issues in Cold Weather
The low-voltage wires connecting sensors to your opener can become problems in winter. Metal wire connectors contract in cold temperatures, which can loosen connections that were tight in summer. If your sensors work during the day but fail on cold nights, check all wire connections at both sensors and the opener unit.
Snow and Ice Buildup
Snow drifting into your garage can pile up around floor-level sensors. Even a small amount of snow or ice on the sensor lens or mounting bracket can block the beam or shift alignment. After snowstorms, check that sensors are clear and still pointing at each other.
Seasonal Alignment Checks
We recommend Toronto homeowners check sensor alignment at least twice per year—once in spring and once in fall. The freeze-thaw cycles common in our climate can shift the concrete floor and walls slightly, moving sensor brackets out of alignment over time.
Winter Tip: Keep a soft cloth near your garage door in winter months. A quick wipe of both sensor lenses takes 10 seconds and prevents most cold-weather sensor problems.
Sensor Repair & Replacement Costs
| Service | Price Range (+ tax) | Includes |
|---|---|---|
| Sensor Alignment | $75 - $100 | Realignment, testing, calibration |
| Sensor Replacement (pair) | $120 - $180 | Both sensors, wiring, testing |
| Wiring Repair | $75 - $150 | Diagnosis, wire repair, testing |
| Circuit Board Replacement | $150 - $250 | New board, programming |