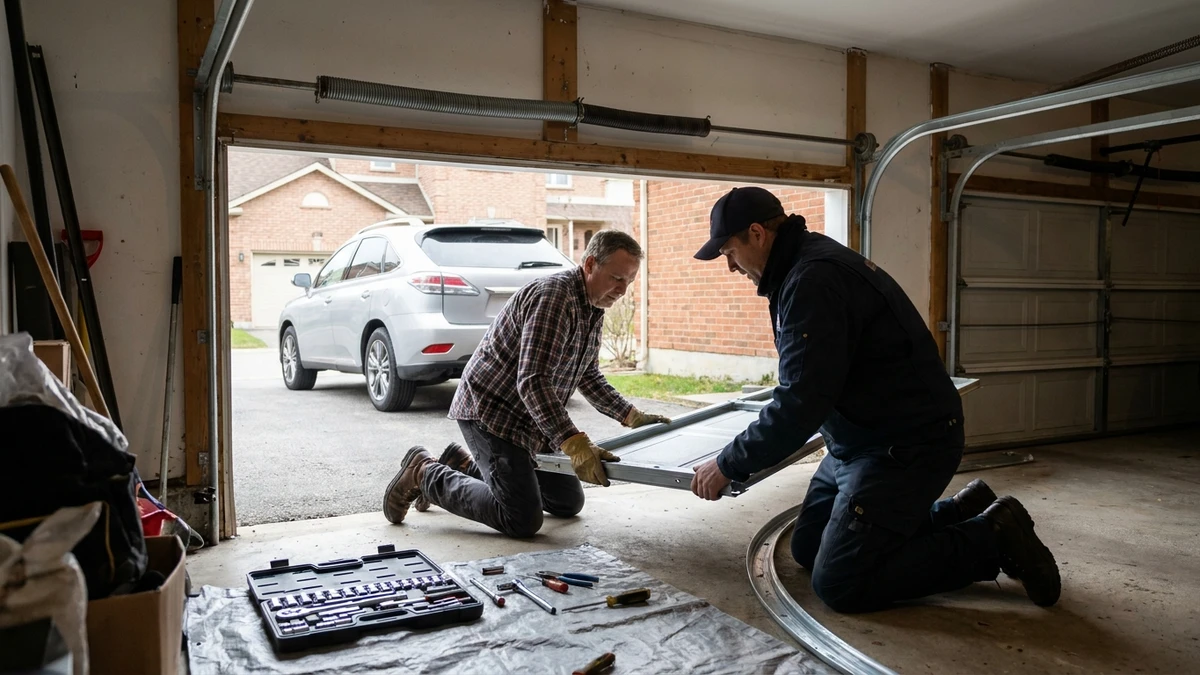
Installing a garage door means removing the old door, mounting the tracks and hardware, assembling the panels, and tensioning the torsion spring before adding the opener. Most of this is DIY-realistic with the right tools and a second pair of hands — the exception is the spring stage, which is under extreme tension and causes real injuries every year. A professional two-person crew does the whole job in 3–5 hours; a new door supplied and installed starts at $1,350 + tax for an 8x7.
What Garage Door Installation Actually Involves
A residential sectional garage door installation has four real stages: removing the old door and confirming the opening, mounting the vertical and horizontal tracks with their hardware, assembling and hanging the panels, and installing the torsion spring system that counterbalances the door's weight. The opener goes on last. Each stage is straightforward on its own — it's the combination, done correctly and in the right order, that takes practice.
Every week we get a call from someone who started installing their own garage door and hit a wall — usually right at the spring. This guide walks through the real process honestly: what a confident DIYer can handle, what the actual risk is, and where the line is that most people should not cross without a technician. As an IDEA Certified technician with 15+ years installing doors across Toronto and the GTA, here's exactly how the job goes.
Is DIY Garage Door Installation Realistic?
For a handy homeowner with a helper, basic tools, and a free Saturday: yes, for most of the job. Removing the old door, mounting track hardware, assembling panels, and installing the opener are all tasks within reach if you follow the manufacturer's instructions carefully and don't rush.
Tools and Materials You'll Need
- Socket and wrench set — for track brackets, hinges, and roller brackets.
- Step ladder — a sturdy one, tall enough to reach the header comfortably.
- Level and tape measure — tracks that aren't plumb cause binding and premature wear.
- Vise grips or locking pliers — to hold panels in place against the track while you work, before the door is fully assembled.
- Winding bars (torsion spring systems only) — a matched pair, sized to your spring's winding cone. Never substitute a screwdriver; it's a common cause of injury.
- A second person — panels are heavy and awkward alone, and the spring stage should never be attempted solo.
Step-by-Step: How Installation Goes
- Remove the old door and check the opening. Take out the existing door, track, and hardware, then confirm your new door's rough opening, headroom (space above the opening), and side room requirements actually match what you have. This is where an ill-fitting replacement door gets caught, ideally before you've started mounting anything.
- Install the frame hardware and vertical tracks. Mount the jamb brackets to the door frame, then the vertical tracks, checking plumb with a level at each bracket. A track that's out of plumb by even a little compounds into real binding once the door is moving.
- Assemble the panels from the bottom up. Set the bottom panel in the opening, attach its hinges and roller brackets, fit the rollers into the vertical track, then stack and connect each additional panel the same way.
- Install the horizontal track and header bracket. Fit the curved horizontal track sections that carry the door up and over, and mount the header bracket that will hold the torsion spring shaft.
- Install and tension the torsion spring. Mount the spring assembly on the header bracket, then wind it to the manufacturer's specified number of quarter-turns using winding bars seated fully in the winding cone — keeping your body out of the spring's potential release path the entire time. This is the step to hand off to a professional if you have any doubt.
- Attach the opener and set safety limits. Mount the opener, connect it to the door, and set the travel limits and force settings per the manufacturer's instructions.
- Test the auto-reverse safety feature. Before the door goes into regular use, place a 1.5-inch board flat on the floor in the door's path and confirm the door reverses on contact, and confirm the photo-eye sensors stop the door when the beam is broken.
Common Mistakes DIYers Make
| Mistake | What Goes Wrong |
|---|---|
| Using a screwdriver instead of winding bars | Loses grip under tension — a leading cause of spring-related injuries |
| Not checking track plumb at every bracket | Door binds, rollers wear prematurely, opener strains |
| Skipping the manufacturer's exact spring turn count | Door is unbalanced — too light causes it to fly up, too heavy strains the opener |
| Working alone on panel assembly | Panels are heavy and awkward; a dropped panel can bend a track or injure a foot |
| Skipping the auto-reverse test before use | A door that doesn't reverse on an obstruction is a real safety hazard |
DIY vs Professional: The Honest Cost Math
DIY installation mainly saves on labour — the door itself and its hardware cost the same whether you install it or a technician does. Where the math gets less favourable is risk: a mistake on the spring stage, or a door that ends up out of level, can turn into an emergency repair call that eats into whatever labour you saved.
| Option | Typical Cost (CAD) | Best When |
|---|---|---|
| DIY install (door + hardware only) | Door cost + your time | Experienced DIYer, comfortable calling a pro for the spring |
| Professional supply & install (8x7) | from $1,350 + tax | Most homeowners — includes door, hardware, install, old-door removal, safety check |
| Door-only supply, professional spring/track only | Custom quote | Hybrid approach — you handle panels, we handle the spring |
A new door supplied and installed starts from $1,350 + tax for an 8x7, $1,500 for 9x7, $1,650 for 10x7, and $2,300 for a 15x7 or 16x7 double — including the door, hardware, weatherstripping, professional installation, old-door removal, and a safety check, backed by a 1-year labour and 5-year hardware warranty. See current numbers on our pricing page. If you'd rather handle the panel work yourself and just want a technician for the spring and final balancing, our spring installation service covers that piece on its own.
Do You Need a Permit?
Most GTA municipalities don't require a permit for a like-for-like door replacement in the same opening. If you're changing the size of the opening or doing structural header work, check with your local municipality first — that typically does require one.
Where Royal Garage Doors Fits In
We install new doors across Toronto, Mississauga, Brampton, and Hamilton — and we're just as happy to come in for the spring-and-balance stage on a door you've assembled yourself as we are to handle the whole job. Every install includes a full safety check and a 1-year labour, 5-year hardware warranty. See what GTA homeowners say on our reviews page.
Ready for the Spring Stage or the Whole Install?
Royal Garage Doors installs new doors across Toronto & the GTA — from $1,350 supplied and installed, or just the spring and balancing if you've handled the rest yourself. FREE service call with any repair.
Call 437-265-9995