Step-by-Step Programming Guide
Programming a garage door opener remote is straightforward once you know where to look. These universal steps work for most modern openers manufactured after 1993, including LiftMaster, Chamberlain, Genie, Craftsman, and Wayne Dalton brands.
What You'll Need
- Your new or replacement garage door remote
- A step ladder (to reach the opener unit)
- Fresh batteries in the remote (if not new)
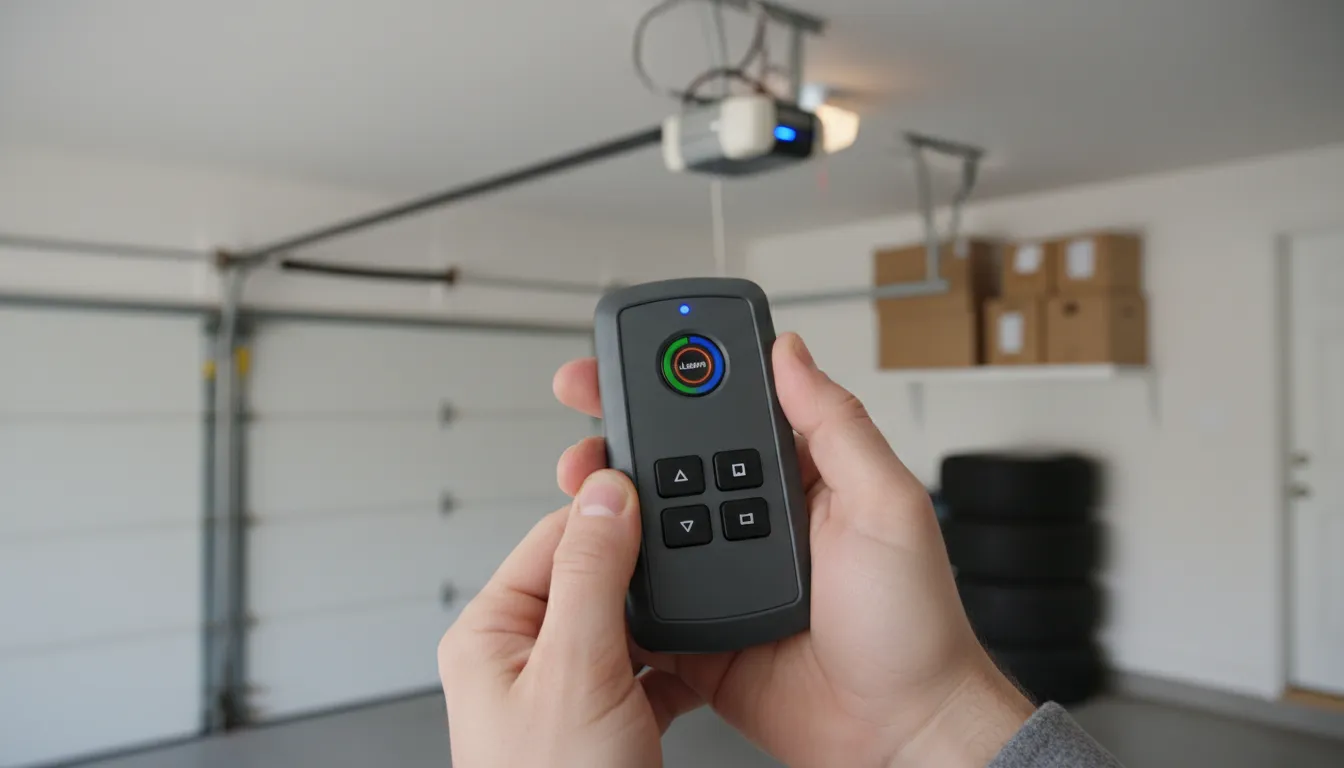
Locate the Learn Button
Find the Learn button (also called Smart or Program button) on your garage door opener motor unit. It's typically located on the back or side panel near the antenna wire. The button color indicates your opener's frequency: Yellow/Green = Security+ 2.0, Purple = Security+, Orange = 390MHz, Red = 390MHz.
Press the Learn Button
Press and release the Learn button once. Don't hold it down (holding for 10+ seconds erases all remotes). An LED indicator light will turn on, showing the opener is in "learning mode" and ready to accept a new remote signal. You have exactly 30 seconds to complete the next step.
Program the Remote
Within 30 seconds, press and hold the button on your remote that you want to program. Hold it for 3-5 seconds. Watch for confirmation: the opener's lights will flash, or you'll hear two clicks. This means the remote code has been successfully stored in the opener's memory.
Test the Remote
Step back and press the programmed button on your remote. The garage door should respond by opening or closing. Test it 2-3 times from different positions to ensure reliable operation. If the door doesn't respond, repeat the process from Step 1.
Program Additional Remotes
Need to program more remotes? Repeat steps 1-4 for each additional remote. Most openers can store 8-20 remote codes in memory. Each remote must be programmed individually—you cannot program multiple remotes simultaneously.
Pro Tip: If you're replacing a lost remote for security reasons, first erase all existing codes by holding the Learn button for 10-15 seconds until the LED turns off. Then reprogram only the remotes you want to keep.
Brand-Specific Instructions
While the basic process is similar across brands, here are the specific details for the most common garage door opener manufacturers in Canada:
| Brand | Learn Button Location | Button Color | Programming Time |
|---|---|---|---|
| LiftMaster | Back panel, near antenna | Yellow, Purple, or Orange | 30 seconds |
| Chamberlain | Back panel | Yellow, Purple, or Orange | 30 seconds |
| Genie | Back of motor unit | Round black button | 30 seconds |
| Craftsman | Near the light bulb | Purple or Yellow | 30 seconds |
| Wayne Dalton | Inside light lens cover | Program button | 30 seconds |
LiftMaster & Chamberlain Specifics
LiftMaster and Chamberlain openers are made by the same company and use identical programming procedures. The Learn button color tells you about the opener's technology:
- Yellow or Green: Security+ 2.0 (myQ compatible, most secure)
- Purple: Security+ rolling code technology
- Orange or Red: Older 390MHz systems
For Security+ 2.0 models with Wi-Fi, you can also program remotes through the myQ app, though the manual method described above still works.
Genie Intellicode Programming
Genie openers with Intellicode use a similar process but with slight variations:
- Press the Learn button on the motor unit until the LED lights
- Press and hold the remote button within 30 seconds
- Release when the LED blinks or the opener light flashes
For Genie Aladdin Connect models, programming can also be done via the Aladdin Connect app.
Programming HomeLink (Car Built-In)
HomeLink is the most common built-in garage door opener system in vehicles. If your car has three buttons on the rearview mirror or sun visor, that's HomeLink. Programming it requires a few extra steps because HomeLink needs to "learn" both ways—the car learns your opener's frequency, and newer openers need to learn the HomeLink signal.
Step 1: Clear Existing HomeLink Codes
Hold the two outside HomeLink buttons simultaneously for 20 seconds until the LED flashes rapidly. This erases old programming and prepares for new setup.
Step 2: Train HomeLink to Your Opener
Hold your working garage door remote 1-3 inches from the HomeLink button you want to program. Simultaneously press both the remote button and the HomeLink button. Hold both until the HomeLink LED changes from slow to rapid blinking (usually 10-20 seconds).
Step 3: Complete the Connection (Security+ Openers)
For LiftMaster, Chamberlain, and most modern openers with rolling codes, you need an additional step:
- Go to the opener motor unit and press the Learn button
- Within 30 seconds, return to your car
- Press and hold the programmed HomeLink button for 2-3 seconds
- Repeat this step 2-3 times until the door operates
Important: The "press HomeLink 2-3 times" step is crucial for Security+ and Security+ 2.0 openers. If you skip this, HomeLink may appear programmed but won't actually operate your door.
HomeLink programming is the number one call we get about remotes. The key is understanding that modern rolling-code openers require that final 'handshake' step where you press the Learn button, then immediately press the car's HomeLink button multiple times.
— Michael Thompson, IDEA Certified Technician
Troubleshooting Common Issues
Remote not working after programming? Here are the most common issues and solutions:
Remote Won't Program
- Dead batteries: Even new remotes sometimes have weak batteries. Replace with fresh ones.
- Out of range: Stay within 6 feet of the opener during programming.
- Timing issues: You must complete programming within 30 seconds of pressing Learn.
- Incompatible remote: Ensure your remote matches your opener's frequency (315MHz, 390MHz, or Security+ 2.0).
- Memory full: If you've programmed too many remotes, erase all and start fresh.
Remote Works Intermittently
- Weak batteries: Replace even if the LED lights up.
- Antenna issues: The opener's antenna wire should hang straight down. See our remote range troubleshooting guide for more fixes.
- Interference: LED light bulbs can interfere with signals—switch to incandescent or opener-rated LED bulbs.
- Range reduced: Some areas have radio interference—this is common near airports or military bases.
Cold Weather Programming Issues
Toronto winters can affect remote programming. Cold temperatures below -15°C can temporarily weaken battery output, causing programming to fail. If you're having trouble in winter, bring the remote inside to warm up for 10-15 minutes before attempting to program. Cold also makes plastic more brittle, so press buttons gently to avoid cracking the remote housing. Once programmed successfully, remotes work fine in cold weather—it's only the initial programming that can be affected by extreme temperatures.
Need to Erase All Remotes?
If you've lost a remote and want to ensure it can't be used, or if you're starting fresh:
- Press and hold the Learn button for 10-15 seconds
- Wait until the LED turns off completely
- All remote codes are now erased
- Reprogram each remote you want to keep
Professional Programming Services
If DIY programming isn't working, professional service solves the problem:
| Service | Price Range (+ tax) | Includes |
|---|---|---|
| Remote/Keypad Programming | $75 - $120 | Multiple device programming, testing, optimization |
| Universal Remote Setup | $90 - $150 | Universal remote, installation, programming |
| Logic Board Repair | $175 - $300 | Circuit board replacement if receiver failed |
| New Opener Installation | $680+ | LiftMaster opener, installation, programming, warranty |