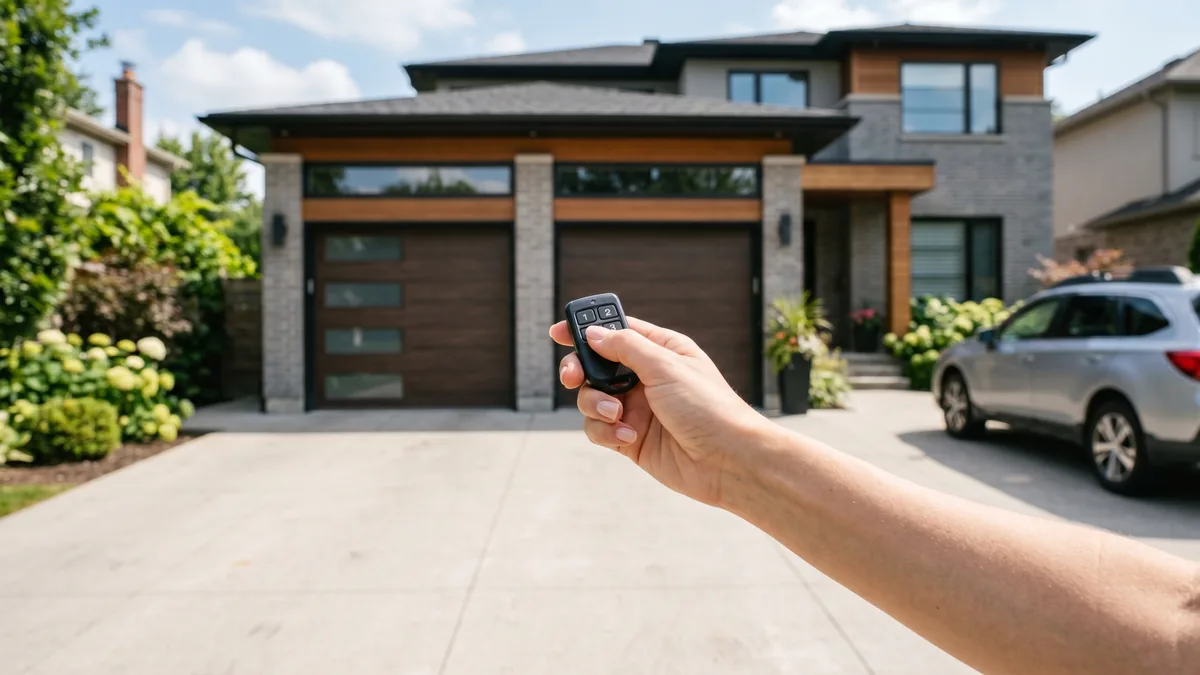
To program a universal garage door remote, first identify whether your opener uses a rolling code (has a Learn button on the motor head) or a fixed DIP-switch code (older, pre-1993). For rolling code: press the Learn button on the opener, then within 30 seconds press the universal remote button until the opener lights flash or click. For DIP-switch openers: set the tiny switches on the remote to match the pattern inside the opener. Most universal remotes work with LiftMaster, Chamberlain, Genie, Craftsman, Linear, Marantec and more.
What Is a Universal Garage Door Remote?
A universal garage door remote is an aftermarket transmitter built to operate many opener brands and frequencies instead of a single proprietary model. Rather than buying a brand-specific remote, you program one universal unit to "learn" or copy your opener's frequency and security code — a fast, low-cost replacement for a lost, broken, or extra remote.
Lost your only garage door remote, or moved into a GTA home with no working clicker? A universal remote is the simplest fix — usually $25–$45 at any hardware store and programmable in under five minutes. The trick is matching it to your opener correctly. After 15+ years programming openers across Toronto and Mississauga, here is the exact process I use on every brand.
Step 1: Identify Your Opener Type Before You Buy
The single biggest reason a universal remote fails to program is buying one that does not cover your opener's frequency or code system. Before you spend a dollar, find out what you have. There are two fundamental categories, and they program completely differently.
Rolling Code vs Fixed Code
Garage door openers made since roughly the mid-1990s use a rolling code (also called code-hopping). The security code changes after every single button press, so a captured signal cannot be replayed by a thief. These openers have a Learn button on the motor head. Older openers — generally pre-1993 — use a fixed code set by a bank of small DIP switches; the same code is sent every time.
How to Tell Which You Have
Look at the back or side of the opener motor head. If you see a coloured square Learn button with a small LED next to the antenna wire, it is a rolling-code opener. If you instead find rows of 8–12 tiny switches (inside the opener housing or the original remote), it is a fixed DIP-switch opener.
Frequency Matters
North American openers operate mainly at 315 MHz, 390 MHz, or 310 MHz, with some newer dual-band and 390/315 units. A quality universal remote (Genie, Skylink, Chamberlain Clicker, Marantec) covers the common frequencies automatically, but always read the compatibility list on the package to confirm it lists your brand. According to Chamberlain Group, the Learn-button colour also tells you the frequency — useful when buying a matching remote.
Step 2: Program a Universal Remote to a Rolling-Code Opener
This is the most common scenario for GTA homes built or upgraded in the last 25 years. The Learn-button method works for LiftMaster, Chamberlain, Craftsman (Chamberlain-made), Genie, Linear, and most other modern brands.
- Install a fresh battery in the universal remote. A weak battery is the second most common cause of failed programming.
- Set the universal remote to the correct brand if required. Some models (like Genie or Skylink universals) need you to enter a short brand setup sequence first — follow the chart in the package insert.
- Find and press the Learn button on the opener motor head. The LED will glow steadily for about 30 seconds. You may need a stepladder; the button is by the antenna wire.
- Within 30 seconds, press the chosen button on the universal remote. Hold it for 1–2 seconds, release, and press again. Watch the opener lights.
- Confirm the link. When the opener "learns" the remote, the motor-head LED will flash, the work lights will blink, or you will hear a click. That confirms success.
- Test from inside and outside the garage. Stand clear of the door path and press the button to run a full open and close cycle.
Step 3: Program a Universal Remote to a DIP-Switch (Fixed-Code) Opener
If your opener predates 1993 and has no Learn button, you will match DIP switches instead. This method copies the fixed code from the opener (or the original working remote) onto the universal remote.
- Locate the DIP switches — a row of 8 to 12 tiny on/off switches. They live inside the opener's receiver housing and inside the original remote's battery compartment.
- Record the exact pattern of up/down (or on/off, or +/-/0) positions. Photograph it with your phone so you do not lose track.
- Open the universal remote and set its DIP switches to the identical pattern.
- Reassemble and test. The remote should now send the same fixed code the opener expects.
Programming a Keypad or a Second Door
The same Learn-button routine programs wireless keypads, in-car HomeLink buttons, and additional remotes — not just the universal clicker. If you want one universal remote to run two doors, simply repeat Step 2 using a different button on the remote for the second opener. Because each button stores its own code, you can mix brands: button one for a LiftMaster in Mississauga, button two for a Genie at a cottage, for example. Just remember that each press of Learn on an opener only links the button you press next, so program one door at a time and test before moving on.
Step 4: Brand-Specific Notes and Learn-Button Colours
Most universal remotes ship with a brand chart, but here is a quick reference for the openers we see most often across Toronto and the GTA. The Learn-button colour on LiftMaster/Chamberlain units indicates the frequency and security generation, which is the fastest way to confirm compatibility before you program.
| Brand | Programming Method | Learn Button / Colour | Notes |
|---|---|---|---|
| LiftMaster / Chamberlain | Learn button | Purple, yellow, green, red/orange | Colour = frequency/security era; Security+ 2.0 (yellow) needs a compatible universal |
| Genie / Overhead Door | Learn / Program Code button | Round or square Program button | Intellicode rolling code; some need a brand setup step first |
| Craftsman | Learn button | Same as Chamberlain | Chamberlain-built; uses identical procedure |
| Linear / Multi-Code | Learn or DIP switch | Learn button (newer) / DIP (older) | Older Multi-Code units are fixed code |
| Marantec | Learn button | Square learn button | 868/315 MHz; confirm universal lists Marantec |
| Pre-1993 any brand | DIP switch match | No Learn button | Match switch pattern exactly |
Step 5: Troubleshooting When It Won't Program
If you have followed the steps and the remote still will not control the door, work through this checklist before giving up on the remote.
- Battery: Replace it even if the remote is brand new — shelf batteries die. Confirm correct polarity.
- Frequency mismatch: Re-read the package. If your opener brand is not listed, the remote cannot work; return it for a compatible model.
- The 30-second window: The Learn LED only stays active about 30 seconds. If you run out of time, press Learn again and try faster.
- Range during setup: Stand within a few feet of the motor head while programming, then test at distance.
- Memory full: Older openers store a limited number of remotes (often 1–7). Clear the memory by holding the Learn button ~6 seconds until the LED goes out, then reprogram every remote and keypad.
- Security+ 2.0 (yellow learn button): Some budget universal remotes do not support the newest LiftMaster encryption. You may need a brand-name Clicker or the genuine remote.
- Faulty opener receiver: If no remote and no wall button works reliably, the opener's logic board or receiver may be failing — not the remote.
If the door still won't respond, the issue may be the opener itself rather than the remote. Our garage door stuck open and hardware guides cover related mechanical causes, and a technician can test the receiver in minutes.
When to Replace the Opener Instead of the Remote
A universal remote is a great fix for a lost clicker, but it cannot rescue a failing opener. If you are buying replacement remotes every year, if the wall button is also unreliable, or if your unit is a noisy pre-1993 fixed-code model with no safety auto-reverse, the smarter investment is a modern opener. Newer LiftMaster, Chamberlain and Genie units add rolling-code security, battery backup (required for many new installs), smartphone control, and far quieter belt drives that homeowners in attached GTA garages appreciate. We cover the full upgrade decision in our garage door replacement resource, and any new opener we install from $600 + tax includes professional programming of all your remotes and keypads so you never have to fight a Learn button again.
Cold weather is also worth mentioning. During GTA winters, lithium and alkaline remote batteries lose voltage in sub-zero temperatures, which is why a remote that worked in October can feel dead in January. If your remote acts up only on the coldest mornings, swap in a fresh battery before assuming a programming fault — it is the single most common "broken remote" call we get once temperatures drop.
Key Takeaways
- Identify rolling code (Learn button) vs fixed code (DIP switches) before buying.
- For rolling code: press Learn, then press the remote within 30 seconds until the lights flash.
- For DIP-switch openers: copy the exact switch pattern onto the universal remote.
- Always confirm the universal remote lists your opener brand and frequency.
- If a pre-1993 fixed-code opener is involved, upgrading to rolling code is the safer fix.
Remote Still Won't Program?
If a fresh battery and the right frequency still won't link your remote, the opener receiver or logic board may be failing. Royal Garage Doors provides FREE service calls with any repair across Toronto & the GTA, with new chain-drive openers from $600 or belt-drive DC openers from $630 + tax including programming.
Call 437-265-9995