To align garage door safety sensors: (1) loosen the wing nut on each sensor bracket, (2) wipe both lenses clean, (3) slowly tilt and rotate one sensor until its indicator LED glows steady and solid (no blinking), then (4) retighten the bracket without moving it. Both sensors must be at the same height (within 6 inches of the floor) and face each other directly so the invisible infrared beam connects. When both lights are solid, test by pressing the wall button once.
What Are Garage Door Safety Sensors?
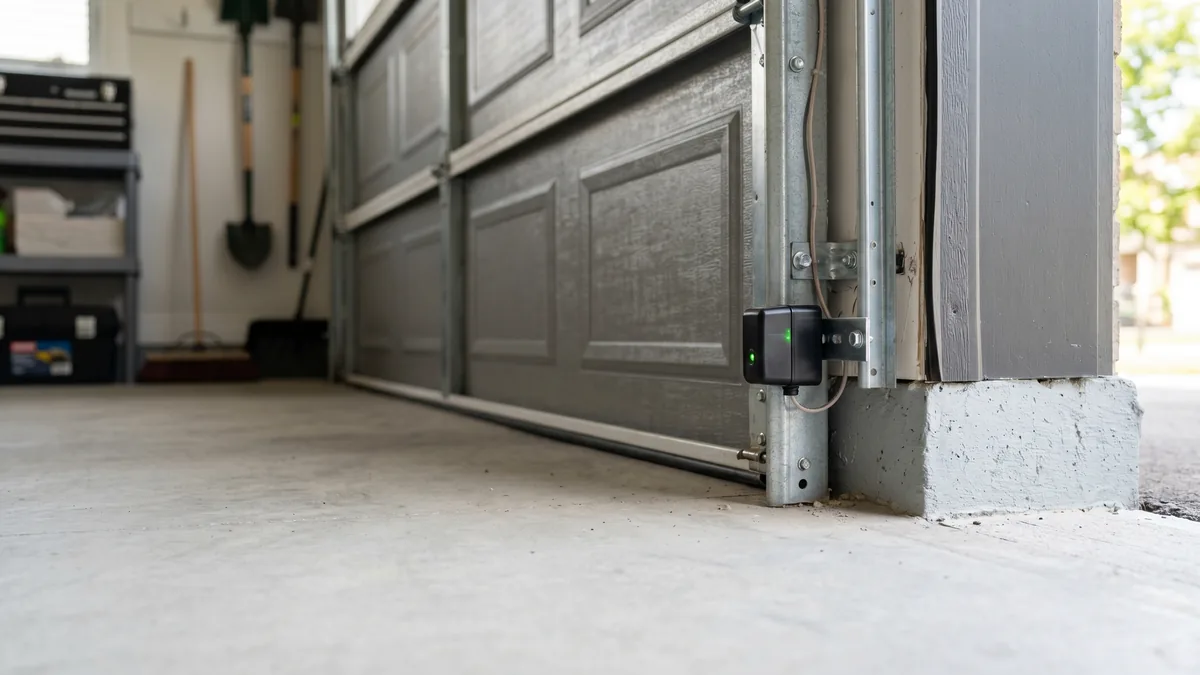
Garage door safety sensors (also called photo eyes or photoelectric sensors) are a pair of small infrared units mounted on each side of the door near the floor. One sensor sends an invisible infrared beam and the other receives it. If anything breaks that beam while the door is closing — a child, pet, car bumper, or trash can — the opener instantly reverses the door. Required on every residential opener built since 1993 under the U.S. CPSC garage door operator standard (UL 325), they are the door’s primary anti-entrapment safety system.
A garage door that refuses to close, reverses the moment it starts down, or flashes the opener light 10 times is almost never “broken” — nine times out of ten it is a misaligned safety sensor. After 15 years repairing doors across Toronto and the GTA, I can tell you this is the single most common service call we get, and most of the time it is a five-minute fix you can do yourself.
How Garage Door Sensors Work (and Why They Drift)
The two sensors form a matched pair. The sending unit projects a focused infrared beam straight across the doorway. The receiving unit (the “eye”) watches for that beam. As long as the beam lands cleanly on the receiver, the opener allows the door to close. Break the beam and the opener treats it as an obstruction and reverses.
Each sensor sits in an adjustable bracket held by a single wing nut. That convenience is also the weakness: a stray broom handle, a bike tire, a snow shovel, or even a hard door slam can nudge a sensor a few degrees out of aim. Because the beam is invisible and the sensors are down at ankle height, you rarely notice until the door stops cooperating. In our GTA climate, freeze-thaw cycles and road-salt grime on the lenses are two more frequent culprits through the winter months.
Understanding the indicator lights is the key to a fast fix. Each brand uses a slightly different scheme, but the rule is universal: a steady, solid light means aligned; a blinking, flickering, or dark light means a problem.
What the Sensor Lights Mean
| Brand | Sending Sensor | Receiving (Eye) Sensor | Aligned When |
|---|---|---|---|
| LiftMaster / Chamberlain | Amber/yellow LED | Green LED | Both solid; green steady |
| Genie | Red/amber LED | Green or red LED | Both solid, no flicker |
| Craftsman (Chamberlain-made) | Amber LED | Green LED | Green stops blinking |
| Linear / Multicode | Solid LED | Solid LED | Both lights steady |
If you press the wall control and the door will not close while the opener’s overhead light blinks 10 times (LiftMaster) or the up/down arrows flash, the opener is telling you the sensor circuit is broken. That is your cue to start the alignment steps below. For a deeper look at what a flashing eye means, see our guide to a garage door sensor blinking red.
Step-by-Step: How to Align Your Garage Door Sensors
You will need a microfiber cloth, possibly a small level or tape measure, and a Phillips screwdriver. The whole job takes 5 to 15 minutes. Here is the exact sequence I use on a service call.
- Clear and inspect the doorway. Remove anything that could break the beam — garbage bins, cobwebs, a parked bike, even tall grass or a leaf pile near an outdoor track. Confirm nothing is physically blocking the line of sight between the two sensors.
- Clean both lenses. Gently wipe each sensor’s lens with a dry or barely damp microfiber cloth. Dust, spider webs, road salt, and condensation are surprisingly common causes of a “misaligned” reading. Never use solvents or glass cleaner directly on the lens.
- Check the height and level. Both sensors must sit at the same height — no more than 6 inches above the floor per safety code. If one bracket has slipped down the track, slide it back to match its partner.
- Loosen one bracket. Back off the wing nut on the receiving (green-light) sensor just enough that you can tilt and swivel it by hand without it flopping loose.
- Find the beam. Slowly aim the sensor toward its partner across the doorway. Watch the LED. The moment it stops blinking and glows steady and solid, you have found the beam. Move in small increments — a degree or two makes the difference.
- Lock it down. Holding the sensor perfectly still, retighten the wing nut. Watch the light as you tighten; if it starts blinking again, the bracket shifted — loosen and repeat.
- Repeat on the second sensor if needed. If the light is still not solid, the sending sensor may also be off-aim. Adjust it the same way until both LEDs are steady.
- Test the door. Press the wall button once and watch the door close fully. Then test the safety reverse: with the door open, wave a cardboard box or a 2x4 through the beam as the door closes. It should reverse immediately.
Sensor Lights Still Blinking? Troubleshoot These Causes
When careful aiming does not produce two solid lights, work through these causes in order — from most common to least:
1. Direct Sunlight Washing Out the Eye
In the GTA, low morning and evening sun can shine straight into a west- or east-facing garage and overwhelm the receiving sensor. The infrared receiver mistakes the sunlight for a flooded signal and behaves as if the beam is blocked — the door reverses only at certain times of day. The fix is a small sun shield or hood over the affected sensor, or a slight angle change to shade the lens. This is one of the most overlooked “intermittent” problems we diagnose.
2. Dirty, Frosted, or Foggy Lens
Condensation inside an unheated GTA garage forms a film on the lens that scatters the beam. A frost layer in January does the same. Re-clean both lenses and, if fogging recurs, address the garage humidity — see our garage door condensation solutions.
3. Loose, Pinched, or Corroded Wiring
The sensor wires are low-voltage and run along the track to the opener. A staple driven too tight, a rodent chew, or corrosion at the terminal will starve a sensor of signal. If a light is completely dark (not even blinking), suspect power or wiring before alignment. Check that the wire is seated firmly in the opener’s sensor terminals and that no insulation is nicked.
4. A Failed or Mismatched Sensor
Sensors do wear out, especially after a power surge or years of moisture. If one unit will not light at all and the wiring is intact, the sensor itself has likely failed. Replace sensors as a matched pair from the same brand — mixing a LiftMaster eye with a Genie sender will not work, since the beam frequencies and connectors differ.
DIY Alignment vs. Calling a Technician
Most sensor problems are genuinely DIY-friendly, and we would rather teach you the five-minute fix than charge you for it. But some symptoms point to a deeper issue. Here is how to decide.
| Situation | DIY-Friendly | Call a Pro |
|---|---|---|
| One light blinking, both powered | Yes — realign & clean | — |
| Reverses only in bright sun | Yes — add a sun shield | — |
| Light completely dark / no power | — | Yes — wiring/board check |
| Damaged bracket or chewed wire | — | Yes — repair/replace |
| Solid lights but door still reverses | — | Yes — force/limit or board |
At Royal Garage Doors, sensor repair or replacement runs $120–$180 + tax, and the diagnostic service call is FREE when you proceed with any repair. If your sensors are perfectly aligned (solid lights) but the door still reverses, the problem has moved on to the opener’s force settings, travel limits, or logic board — covered in our guide to adjusting garage door travel limits and handled by our garage door opener repair team.
Key Takeaways
- Solid LED = aligned. Blinking LED = beam broken or misaligned.
- Always clean the lenses and clear the doorway before adjusting.
- Both sensors must sit at the same height, within 6 inches of the floor (UL 325).
- Sunlight, fog, frost, and loose wiring are the top non-alignment causes in the GTA.
- Never bypass the sensors — they are a life-safety device.
Sensors Still Won’t Cooperate?
If both lights are solid and the door still reverses, or a sensor is dead, you likely have a wiring or logic-board issue. Royal Garage Doors provides FREE service calls with any repair across Toronto & the GTA — same-day available.
Call 437-265-9995