To program a Chamberlain garage door opener, press the Learn button on the motor head (the unit on your ceiling), then within 30 seconds press the button on your remote, keypad, or HomeLink car control. The opener lights flash to confirm the pairing. For newer Security+ 2.0 openers (yellow Learn button), programming a car needs one extra step at the motor head. To erase every old code, hold the Learn button for about six seconds until the LED goes out.
What Is the Chamberlain Learn Button?
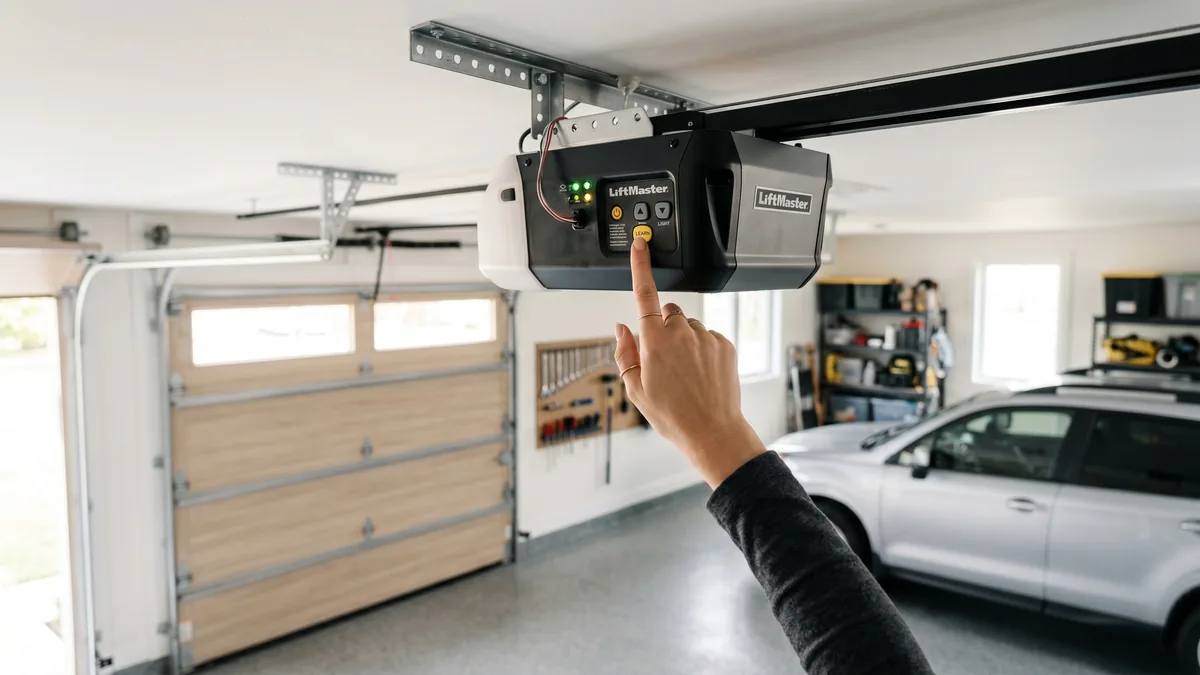
The Learn button is a small coloured button on the opener’s motor head that puts the receiver into a temporary pairing mode. When you press it, the opener listens for about 30 seconds for a new remote, keypad, or car signal and stores that device’s rolling code in its memory. Almost every programming task on a Chamberlain opener — remotes, keypads, cars, and resets — begins by pressing this one button.
Chamberlain makes some of the most common garage door openers in Toronto and the GTA, and the good news is that programming one is almost always a five-minute job you can do yourself. Whether you just bought a new remote, moved into a home with an unknown PIN on the keypad, or want to open the door from your car or phone, this guide walks through every scenario step by step — including the model differences that trip people up.
First: Identify Your Chamberlain Opener
Before you program anything, it helps to know which generation of Chamberlain opener you have, because the radio technology — and a couple of the programming steps — changed over the years. The fastest way to tell is the colour of the Learn button on the motor head. Chamberlain and LiftMaster are built by the same parent company (Chamberlain Group), so the Learn-button colour system is shared across both brands.
| Learn Button Colour | Approx. Era | Technology & Frequency |
|---|---|---|
| Green or Red/Orange | 1993–1997 | 390 MHz Billion Code |
| Orange / Red Learn | 1997–2005 | 390 MHz Security+ (rolling code) |
| Purple | 2005–2011 | 315 MHz Security+ (rolling code) |
| Yellow | 2011–present | 310/315/390 MHz tri-band Security+ 2.0 |
If your Learn button is yellow, you have a Security+ 2.0 opener — the most common type sold over the last decade. These use a tri-band radio that automatically picks the clearest frequency, which is why they need a slightly different car-programming routine (covered below). A replacement remote must match your opener’s technology, so always check the colour before buying.
How to Program a Chamberlain Remote Control
This is the most common task and works the same way on virtually every Chamberlain opener regardless of Learn-button colour. You’ll need a step ladder to reach the motor head safely.
- Locate the Learn button. Place a stable ladder under the motor head and find the Learn button beside the antenna wire, usually under or behind the light lens.
- Press and release the Learn button. The small LED next to it lights up and stays on for about 30 seconds — this is your programming window.
- Press the remote button. Within 30 seconds, press and release the button on the remote you want to pair. Hold the remote within a few feet of the motor head.
- Confirm the pairing. The opener lights flash (or the LED goes out) to confirm success. Test by pressing the remote button to open and close the door.
If nothing happens, the most likely culprit is a dead remote battery — swap in a fresh CR2032 or CR2016 (check your remote) and try again before assuming the opener is at fault. A remote that worked yesterday and suddenly stopped is almost always a battery, not a programming issue.
Rolling Code: Why Reprogramming Sometimes Fails
Modern Chamberlain openers use a rolling code that changes the security code with every press, so it can never be copied by a thief. This is also why a universal remote from a hardware store may not pair on the first try, and why a remote synced to one opener won’t work on another. If a remote loses sync, simply repeat the Learn-button steps above to re-pair it.
How to Program or Reset the Wireless Keypad
A wireless keypad mounted outside the garage lets you open the door with a PIN — handy for kids, dog walkers, and contractors. Programming a new PIN follows the same Learn-button logic.
Set a New Keypad PIN
- Enter your chosen PIN. On the keypad, type the four-digit code you want to use.
- Press the Learn button on the motor head and release it. You have about 30 seconds.
- Press Enter (or the up/down arrow) on the keypad. The opener lights flash to confirm the keypad is paired to that PIN.
Reset the Keypad After Buying a Home
If you just moved into a Toronto or GTA home and don’t know the existing PIN, the safest move is to erase every stored code and start fresh. To clear all remotes and keypads, press and hold the Learn button until the LED goes out (about six seconds). This wipes the opener’s memory completely, after which you re-pair only the remotes and keypad you actually want. We recommend doing this on every home purchase — you never know how many remotes the previous owner handed out.
How to Program Your Car to a Chamberlain Opener
Most vehicles sold in Canada include HomeLink (the buttons on the visor or overhead console) or, less commonly, Car2U. Programming your car so you can ditch the visor clip is one of the most popular upgrades — but it’s also where the Security+ 2.0 difference matters most.
Standard HomeLink Programming (Most Openers)
- Clear the HomeLink buttons (new cars only): hold the two outer HomeLink buttons until the indicator light flashes, then release. Skip this on a car you’re re-training.
- Train the button: hold your working Chamberlain remote about 1–3 inches from the HomeLink button while pressing and holding both the HomeLink button and the remote button.
- Watch for the rapid flash: when the HomeLink indicator changes from a slow to a rapid flash, release both buttons. The car has learned the code.
The Critical Extra Step for Security+ 2.0 (Yellow Learn Button)
This is the step that frustrates the most homeowners. On a yellow-Learn-button opener, training HomeLink is not enough — you must finish the handshake at the motor head:
- Complete the standard HomeLink training above.
- Press the Learn button on the motor head (the LED lights for 30 seconds).
- Return to the car and press the trained HomeLink button two or three times until the door activates.
- The door should now open. If it doesn’t, repeat — timing within the 30-second window is the usual issue.
Without that final motor-head step, the car will appear to train successfully but the door simply won’t move — the number-one reason people think their HomeLink is “broken.” For full HomeLink details and vehicle-specific quirks, the manufacturer’s official guide at homelink.com is the authoritative reference.
How to Add Your Opener to the MyQ App
MyQ turns your Chamberlain opener into a smart device you can control from your phone — open or close the door, get alerts if it’s left open, and grant access to delivery drivers from anywhere. It’s especially useful in the GTA for letting in packages without leaving the door open.
- Built-in Wi-Fi models (Wi-Fi symbol on the motor head, blue antenna LED): download the myQ app, create an account, tap to add a device, press the Wi-Fi setup button on the opener, and follow the prompts to join your home network.
- Older openers without Wi-Fi: add a separate myQ Smart Garage Hub accessory, which mounts on the ceiling, plugs into power, and bridges your existing opener to the app.
If you also want voice control or deeper smart-home integration, our companion guide on LiftMaster MyQ setup covers the same app in detail — it’s the identical platform across both brands.
Troubleshooting: When Programming Won’t Work
Most failed programming attempts come down to a handful of fixable issues. Work through these before concluding the opener is faulty.
| Symptom | Likely Cause | Fix |
|---|---|---|
| Remote won’t pair | Dead remote battery | Replace the coin-cell battery |
| Learn LED never lights | No power or failed logic board | Check power; if dead, call a pro |
| Car trains but door won’t open | Missing Security+ 2.0 step | Add the motor-head Learn step |
| Keypad worked, now ignored | Memory wiped or weak battery | Reprogram PIN; check 9V keypad battery |
| Door reverses after closing | Misaligned safety sensors | Re-align the photo-eye sensors |
| Nothing responds at all | Receiver or board failure | Professional opener repair |
If your door reverses or won’t stay closed after you’ve confirmed the remote is paired, the issue is usually the safety sensors, not programming — our guide on why a door reverses after hitting the floor walks through the fix. When the Learn LED never lights at all, the logic board has likely failed, often after a summer power surge, and needs professional opener repair.
When to Replace vs. Reprogram — and GTA Costs
Programming is free and takes minutes. But if your opener is more than 12–15 years old, lacks rolling-code security, grinds during operation, or has a logic board that no longer responds, repair or replacement is the smarter spend. Here is what the related work typically costs across Toronto and the GTA:
| Service | Typical Cost (CAD) |
|---|---|
| Remote / keypad programming | Free DIY (minutes) |
| Safety sensor repair / alignment | $120–$180 + tax |
| Opener tune-up / maintenance | $100–$120 + tax |
| New opener supplied & installed | from $450 + tax |
A new Chamberlain or LiftMaster opener supplied and installed starts at $450 + tax, including the unit, professional installation, and programming. See full, current pricing on our pricing page and the breakdown on our opener installation cost guide. Every Royal Garage Doors opener job includes a FREE service call — you only pay the $120 diagnostic if you choose not to proceed — backed by a 1-year labour and 5-year hardware warranty.
Why GTA Homeowners Choose a Professional Install
While programming is a confident-DIY task, mounting a new opener involves setting travel limits, calibrating the auto-reverse force, and aligning the photo-eye sensors to Ontario safety standards. Our opener repair and installation team handles dozens of Chamberlain and LiftMaster units a week across Mississauga, Toronto, and Brampton, so a same-day, code-compliant install is straightforward. You can also see why neighbours rate us on our reviews page, or book online in under two minutes.
Opener Not Responding No Matter What You Try?
If the Learn LED never lights or the door grinds, struggles, or reverses, you may have a failed board or sensor — not a programming problem. Royal Garage Doors offers FREE service calls with any opener repair across Toronto & the GTA, with same-day appointments and new openers installed from $450 + tax.
Call 437-265-9995