To winterize your garage door for a GTA winter: (1) clean and lubricate every roller, hinge, spring and the opener rail with silicone or white lithium spray; (2) inspect and replace a cracked bottom weather seal; (3) tighten all hardware and check cables for fraying; (4) test the auto-reverse safety feature; and (5) run a manual balance test. Do this in late October or early November, before the first hard freeze, so a sluggish or frozen door doesn’t leave you stranded in January.
What Is Garage Door Winter Maintenance?
Garage door winter maintenance is a seasonal tune-up done before cold weather arrives, focused on lubrication, weather sealing, hardware tightening and safety testing. Its goal is to keep moving parts gliding smoothly in sub-zero temperatures, stop drafts and freeze-downs, and catch worn springs or cables before the cold makes them fail at the worst possible time.
In the GTA, December through March is when we get the most emergency calls — snapped springs at –20°C, doors frozen to the slab, and openers straining against parts gummed up with cold grease. Almost all of it is preventable with one afternoon of maintenance in the fall. Here is the exact checklist I use as an IDEA Certified technician on homes from Mississauga to Hamilton.
Why GTA Winters Are Hard on Garage Doors
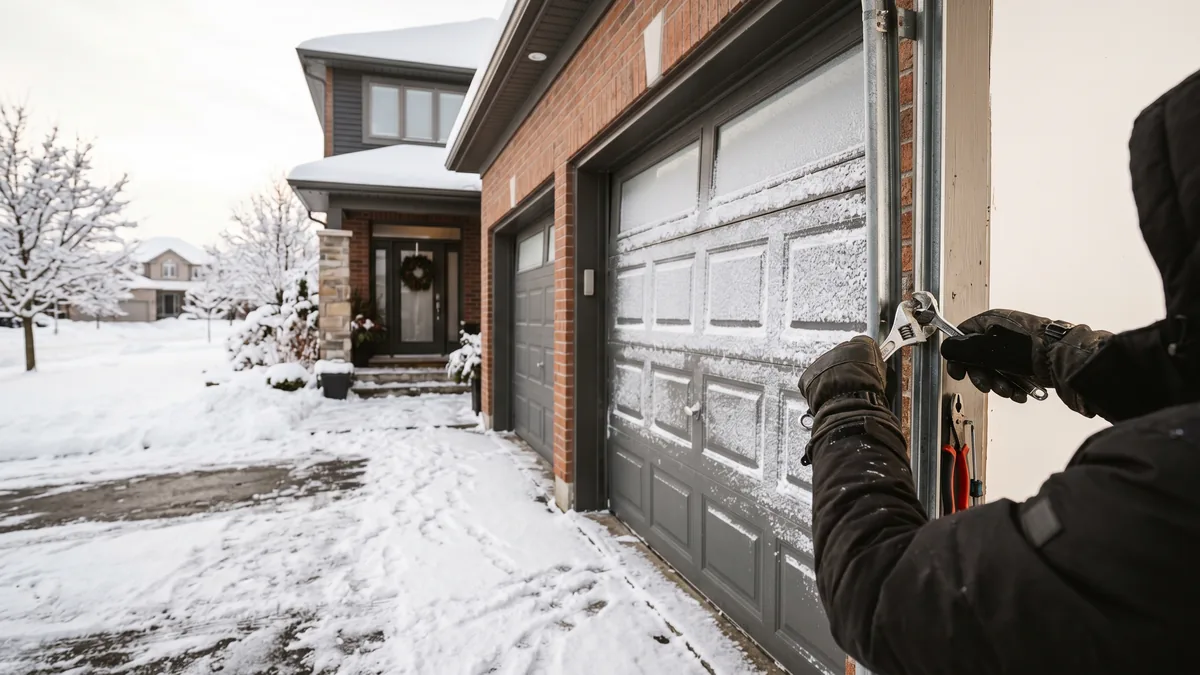
Your garage door is the largest moving object in your home, and it lives half-outdoors. When Toronto-area temperatures swing from +10°C in November to –20°C in January, several things happen at once that stress the system:
- Lubricant thickens. Old grease and cheap oil turn into a sticky paste in the cold, so rollers and bearings drag instead of glide. The opener has to work harder, and the door gets loud.
- Metal contracts. Steel tracks, rollers and hinges shrink slightly and fit more tightly, increasing friction and binding at connection points.
- Springs lose lift. Torsion springs deliver marginally less force when very cold. A spring that was already near the end of its life can break on the first frigid morning — which is why we see a spike in broken spring calls every January.
- Rubber stiffens. The bottom weather seal hardens and can crack, then it freezes to the slab and tears when you open the door.
- Moisture and road salt. Slush and salt tracked in from GTA roads accelerate rust on tracks, hinges and the bottom bar.
None of this is dramatic on its own. The problem is that all five happen together in deep cold, turning a door that was "fine" in October into one that grinds, reverses, or simply won’t budge in January.
The 7-Step Garage Door Winter Prep Checklist
Set aside about an hour. You’ll need a step ladder, a socket or wrench set, a clean rag, and a quality silicone or white lithium garage door lubricant. Work with the door fully closed for steps 1–4 so springs and cables are under stable tension.
1. Clean the tracks (do not lubricate them)
Wipe the inside of both vertical tracks with a dry rag to remove dirt, cobwebs and road grit. The tracks are a guide, not a bearing surface — you want the rollers to roll, not slide on grease. Greasy tracks attract grime and make things worse in winter.
2. Lubricate the moving parts
This is the single most important winter task. Apply lubricant to:
- Rollers — a light spray on the stems and into the bearing (skip the nylon wheel face). Worn rollers that screech may need replacement.
- Hinges — at each pivot point where the hinge bends.
- Springs — a light coat along the torsion spring to prevent rust and reduce coil friction.
- Bearings and end bearing plates — the bearings the torsion shaft rides in.
- Opener rail/chain — a thin film on a chain drive (belt drives need none).
- Lock and any pivot points on the bottom bracket.
3. Inspect and replace the weather seals
Check the rubber bottom seal (astragal) for cracks, tears or a hardened, flattened profile. If it no longer compresses to fill the gap, replace it before winter — a good seal is your main defence against freeze-downs and drafts. While you’re there, inspect the side and top seals (stop molding). Our guide to side and top seal replacement walks through it. Wiping a thin film of silicone on the bottom seal also helps stop it bonding to the ice.
4. Tighten all the hardware
A door cycles thousands of times a year, and the vibration loosens fasteners. With a socket set, snug up:
- Roller bracket and hinge bolts on the door
- Track mounting brackets to the framing
- The bolts on the bottom bracket (do not touch these if springs are involved — the bottom bracket is under cable tension)
- Opener mounting bolts and the rail bracket
5. Inspect cables, drums and rollers for wear
With the door closed, look at the lift cables running from the bottom bracket up to the drums. Any fraying, broken strands or kinks means the cable is near failure — cold weather is the worst time for a cable to snap. Check rollers for chips, flat spots or wobble. Catching these in November is a routine fix; catching them in a January storm is an emergency call.
6. Test the safety reverse
Both safety systems must work before winter, when you’re more likely to be rushing in and out:
- Photo-eye reversal: with the door closing, wave a broom through the beam near the floor. The door must immediately stop and reverse. If not, realign the sensors.
- Mechanical (contact) reversal: lay a 2x4 flat on the floor in the door’s path and close the door. When the bottom bar hits the wood, the door must reverse. This is required under the UL 325 safety standard.
7. Run a manual balance test
Pull the red emergency release cord, then lift the door by hand to about waist height and let go. A balanced door stays put. If it slams down or shoots up, the spring tension is off — do not rely on the opener to fight an unbalanced door all winter, as that is how openers burn out. Book a spring adjustment instead.
How to Prevent (and Free) a Door Frozen to the Ground
The most common winter call we get in the GTA is "my garage door won’t open and the opener just clicks." Nine times out of ten the rubber seal has frozen to a layer of ice on the slab.
Prevention
- Shovel and clear slush in front of the door before it refreezes overnight.
- Keep the bottom seal intact and flexible (silicone film, see step 3).
- Don’t let meltwater pool under the door and freeze.
If it’s already frozen down
- Do not hammer the opener button repeatedly. The opener will strain, and you can strip the gear, tear the seal, or pull the cables off the drums.
- Disconnect the opener with the release cord and try lifting by hand — sometimes a firm, even pull breaks the ice bond.
- Use a hair dryer or a heat gun on low to warm the seal and the ice line. Never use an open flame.
- A flat plastic edge or de-icer along the seal line can break the bond. Avoid metal tools that gouge the seal.
For a deeper walkthrough see our dedicated guide on stopping a garage door from freezing to the ground.
DIY Winter Prep vs. a Professional Tune-Up
Most of this checklist is genuinely homeowner-friendly. The line to stay behind is anything under spring or cable tension. Here’s how the two approaches compare:
| Task | DIY (Homeowner) | Professional Tune-Up |
|---|---|---|
| Lubrication | Yes — safe and easy | Included, with commercial-grade product |
| Tighten hardware | Yes (except bottom bracket) | Full torque check |
| Replace bottom seal | Doable for handy owners | Included if needed |
| Safety reverse test | Yes — recommended monthly | Calibrated and verified |
| Spring tension / balance | No — injury risk | Adjusted safely |
| Cable / drum service | No — under tension | Repaired or replaced |
| Typical cost (GTA) | ~$20–$40 in supplies | Tune-up $100–$120 + tax |
A professional maintenance tune-up runs $100–$120 + tax and includes lubrication, a full balance check, safety sensor alignment and hardware tightening. If the visit turns up worn parts, common winter-prep repairs in the GTA include a single torsion spring at $280 + tax, a double-spring setup at $320–$460 + tax, cables and brackets at $180–$220 + tax, and a bottom or side weather seal at $80–$260 + tax depending on door size. See full pricing for details.
Key Takeaways
- Timing matters: winterize in late October or early November, before the first hard freeze.
- Lubrication is #1: use silicone or white lithium spray, never WD-40 or grease.
- Seal the bottom: a flexible, intact astragal stops drafts and freeze-downs.
- Test both safety reversals — photo-eye and contact — before the busy winter season.
- Stay off the springs and cables. Lubricate them, but leave tension adjustments to a pro.
- If the door is frozen down, never force it with the opener. Thaw the seal instead.
Want It Done Right Before the Snow Flies?
Book a professional winter tune-up and let an IDEA Certified technician lubricate, balance and safety-check your door. Royal Garage Doors offers FREE service calls with any repair across Toronto & the GTA — same-day available.
Call 437-265-9995Frequently Asked Questions
Sources: International Door Association — Homeowner Maintenance & Safety and Natural Resources Canada — Home Energy Efficiency.